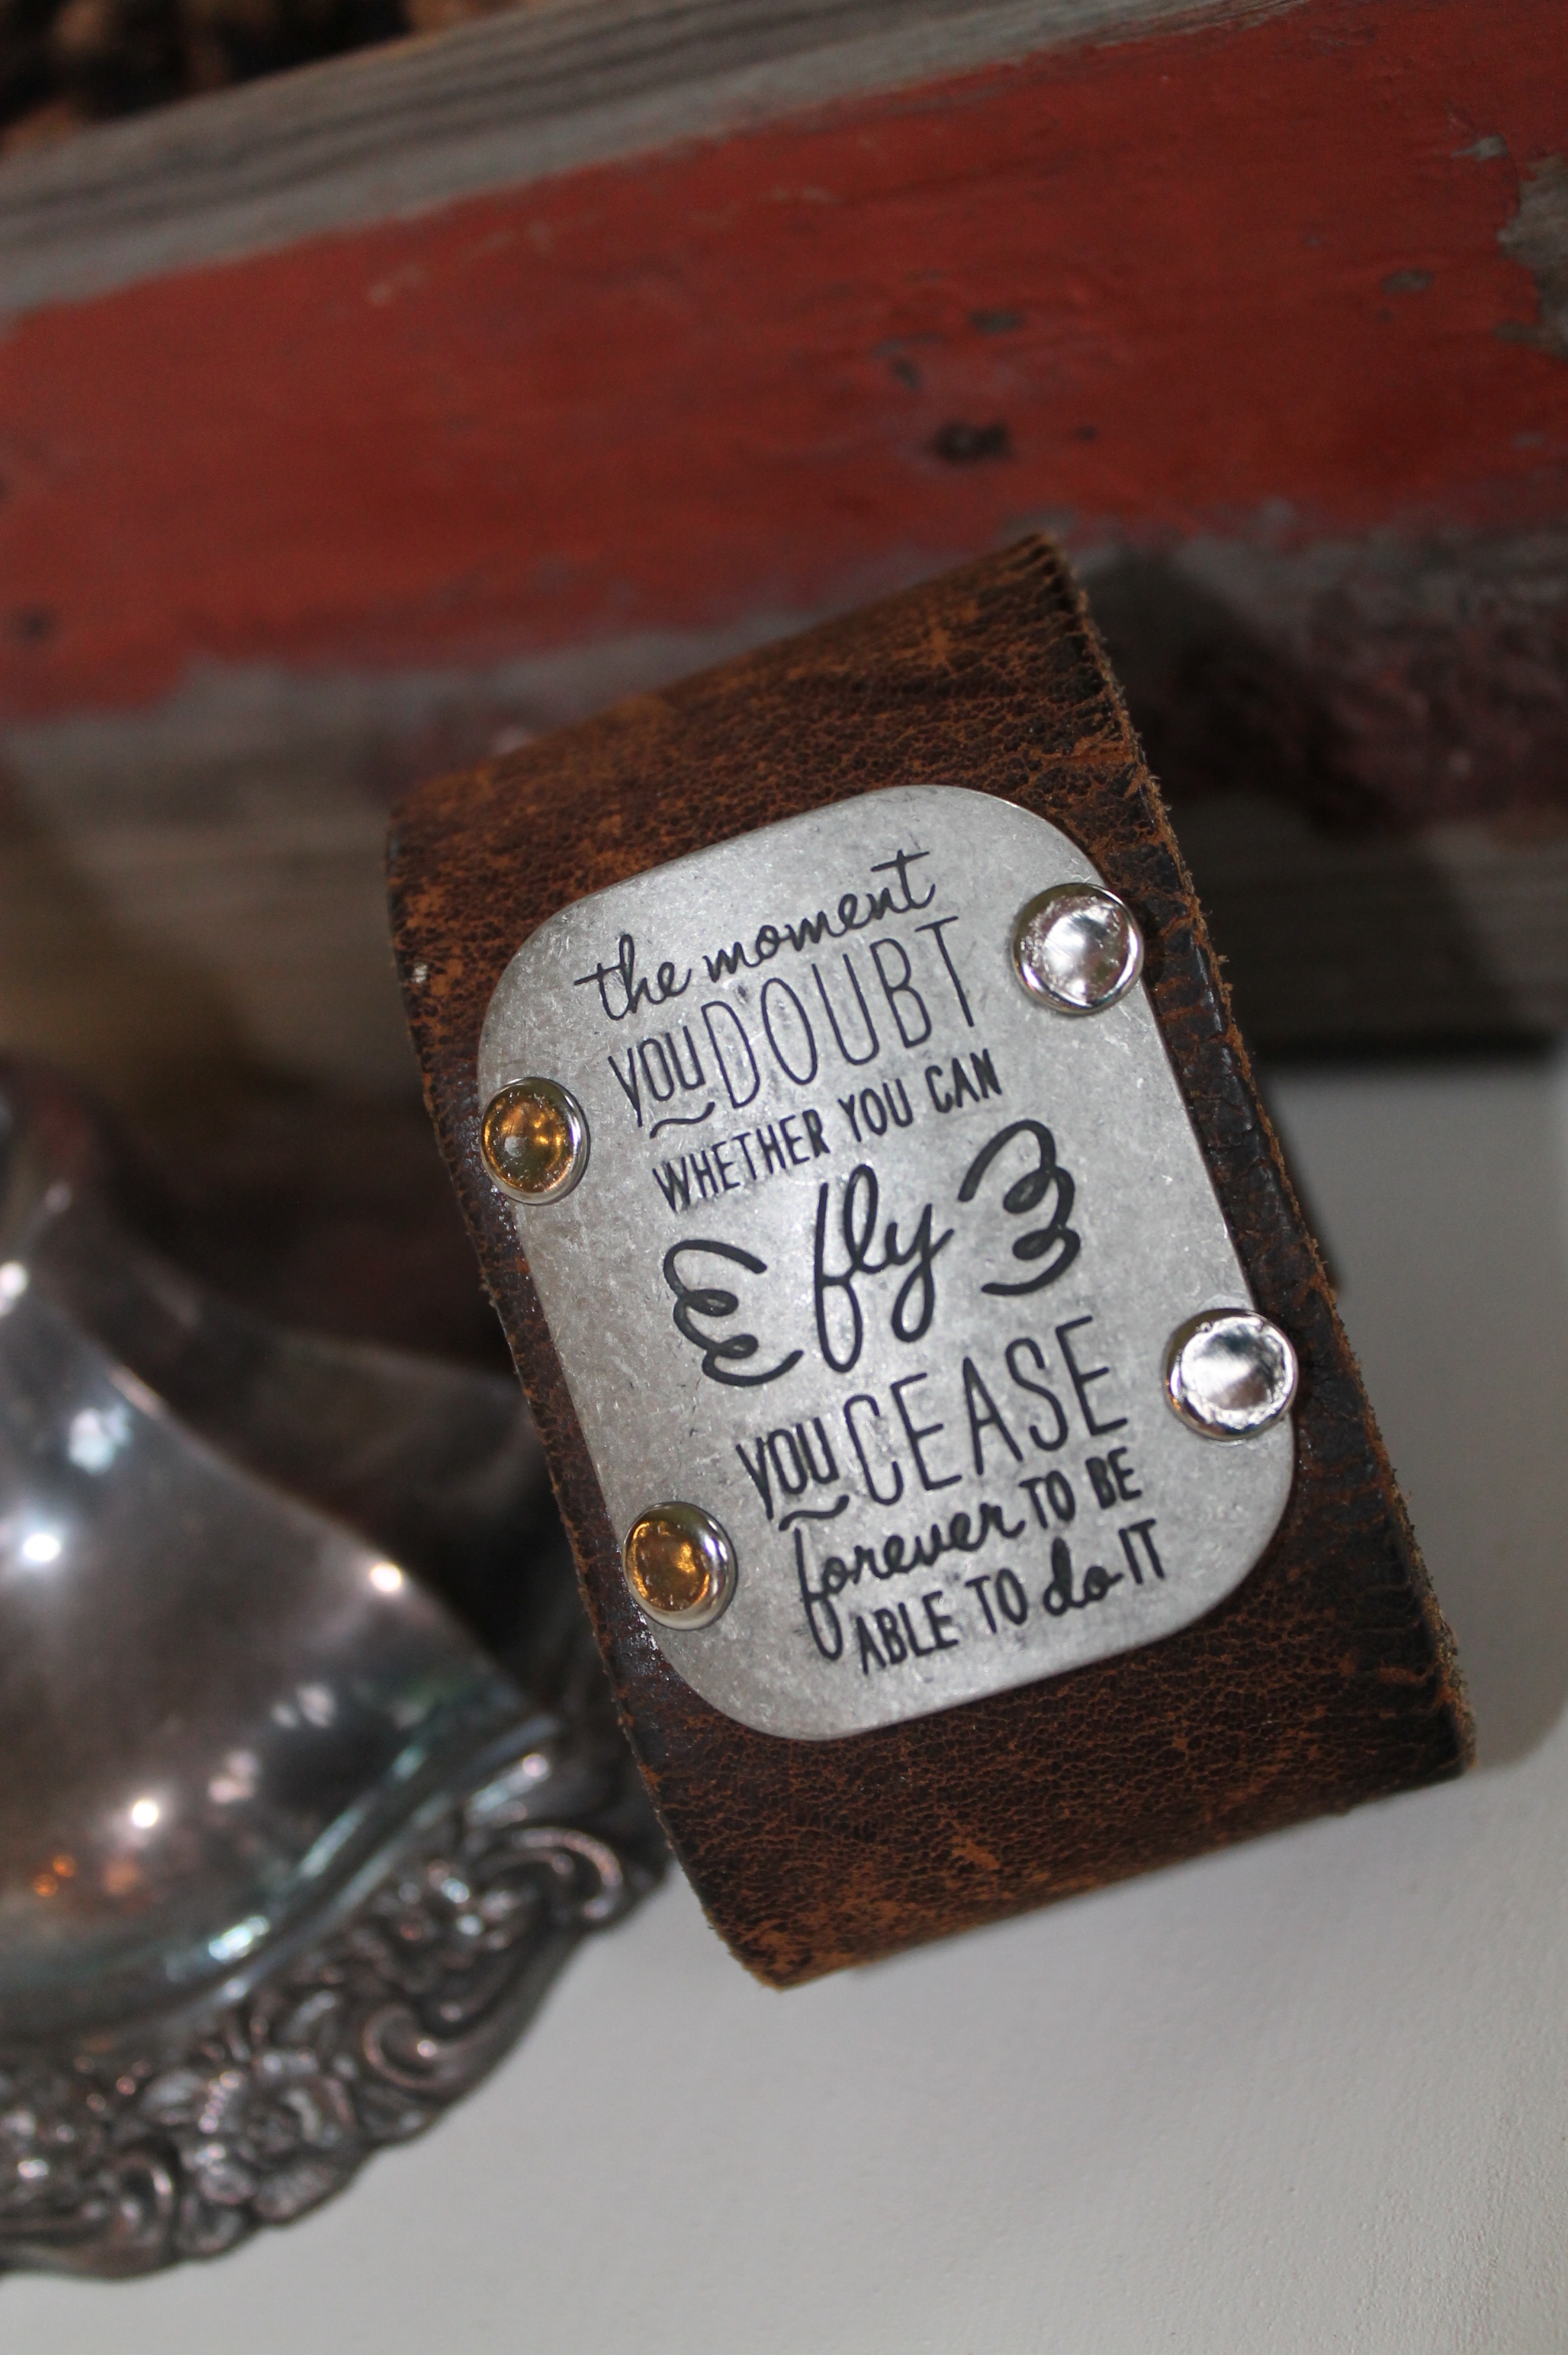
The moment you doubt whether you can fly, you cease forever to be able to do it.
Some people just amaze me. Julissa is one of them. That woman can do anything. Our first meeting was in her store. She and the amazing Mary Ann own one of my favorite shops in the world, Simply Vintage.
I had this perfect idea in my head about making a small bar that would attach to a wall. It would be an old piece of wood on top with vintage brackets holding it up. She had the brackets I needed and the thoughts to help me figure out how to get it done. I love her.
I visit their store quite often, but I also run into them around town. They like the same places I do – Hobby Lobby and Freddy’s. I was in the jewelry aisle at Hobby Lobby because I had decided I wanted to make jewelry. It was an impulse thing, and of course I have started another hobby.
I wanted to make a leather cuff with a connecting metal inspirational saying (as if I need another quote on my person in the form of clothing or jewelry). Purchasing the cuff that has everything on it to connect the metal saying was my plan. But, I ran into Julissa. She told me how to make my very own. It costs next to nothing to make and each cuff is its own unique piece! So here goes.
You will need:
1. An old belt from a father-in-law that has outgrown his, or find one at Salvation Army or a garage sale (of course Julissa set me up with a belt she found laying around their store) The more worn, seasoned and older the better
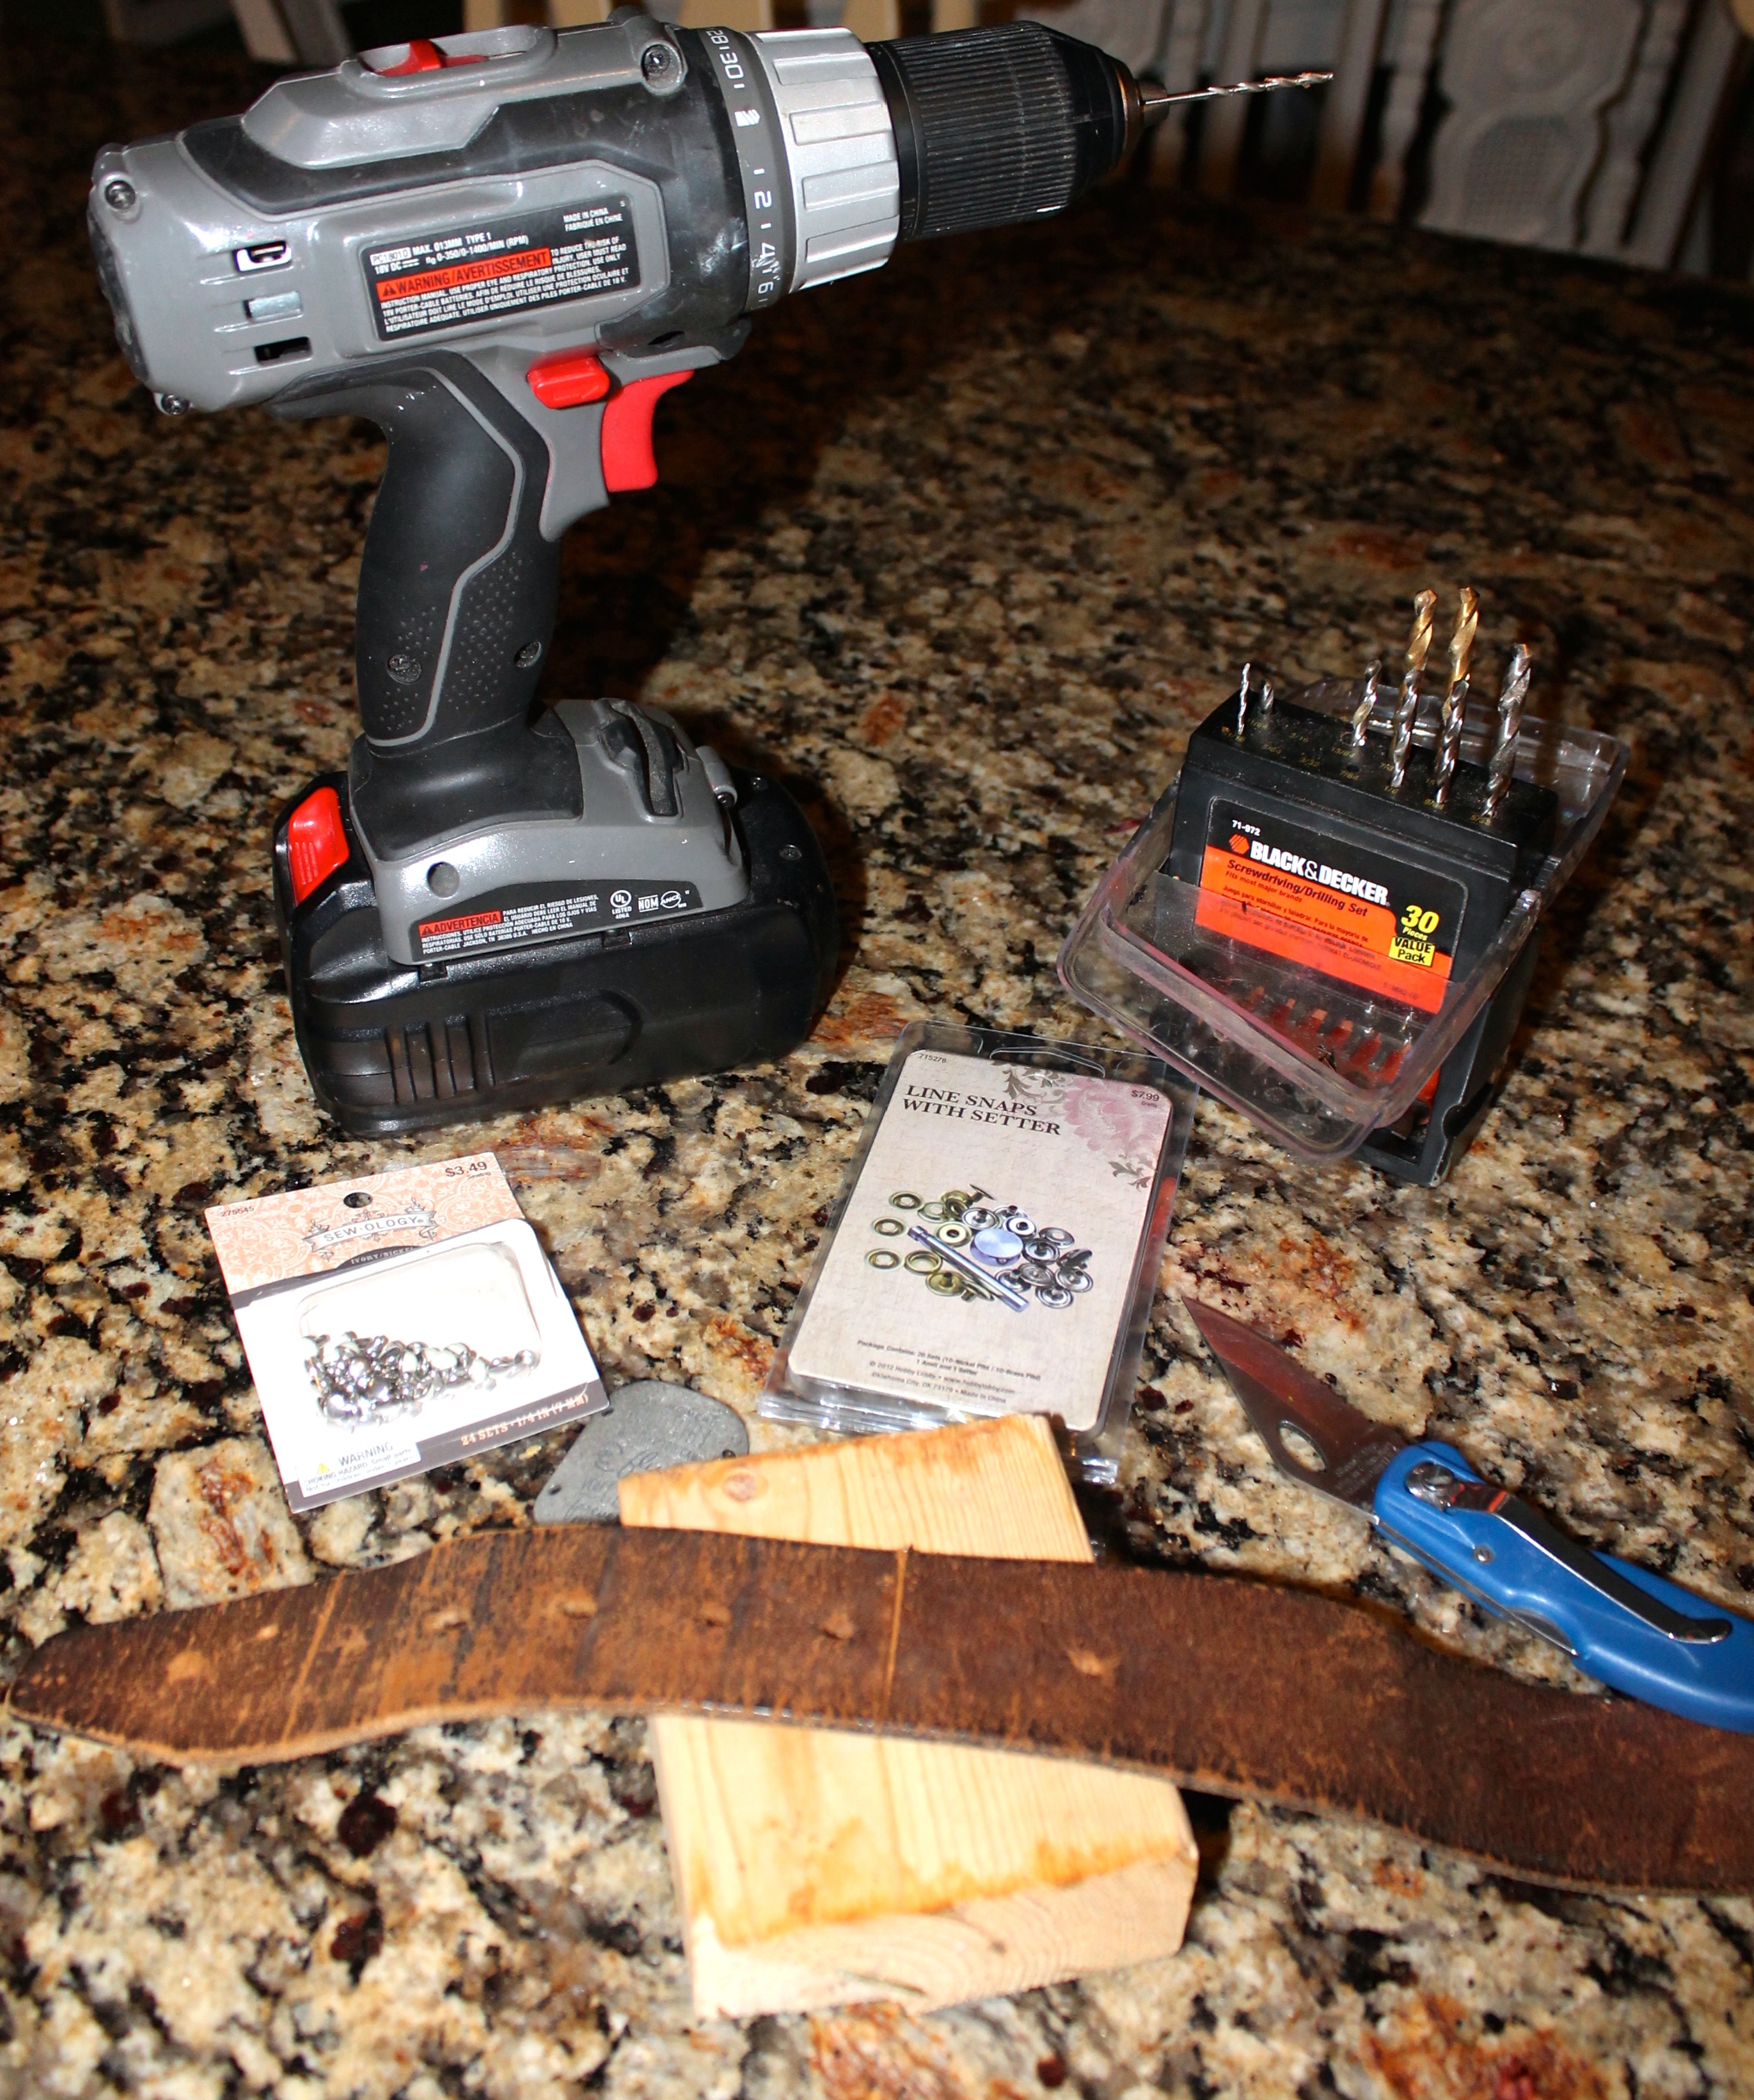
2. The connecting metal piece with the extraordinary quote (I obviously bought mine at Hobby Lobby. You can easily order them online.)
3. Electric drill with a very small bit
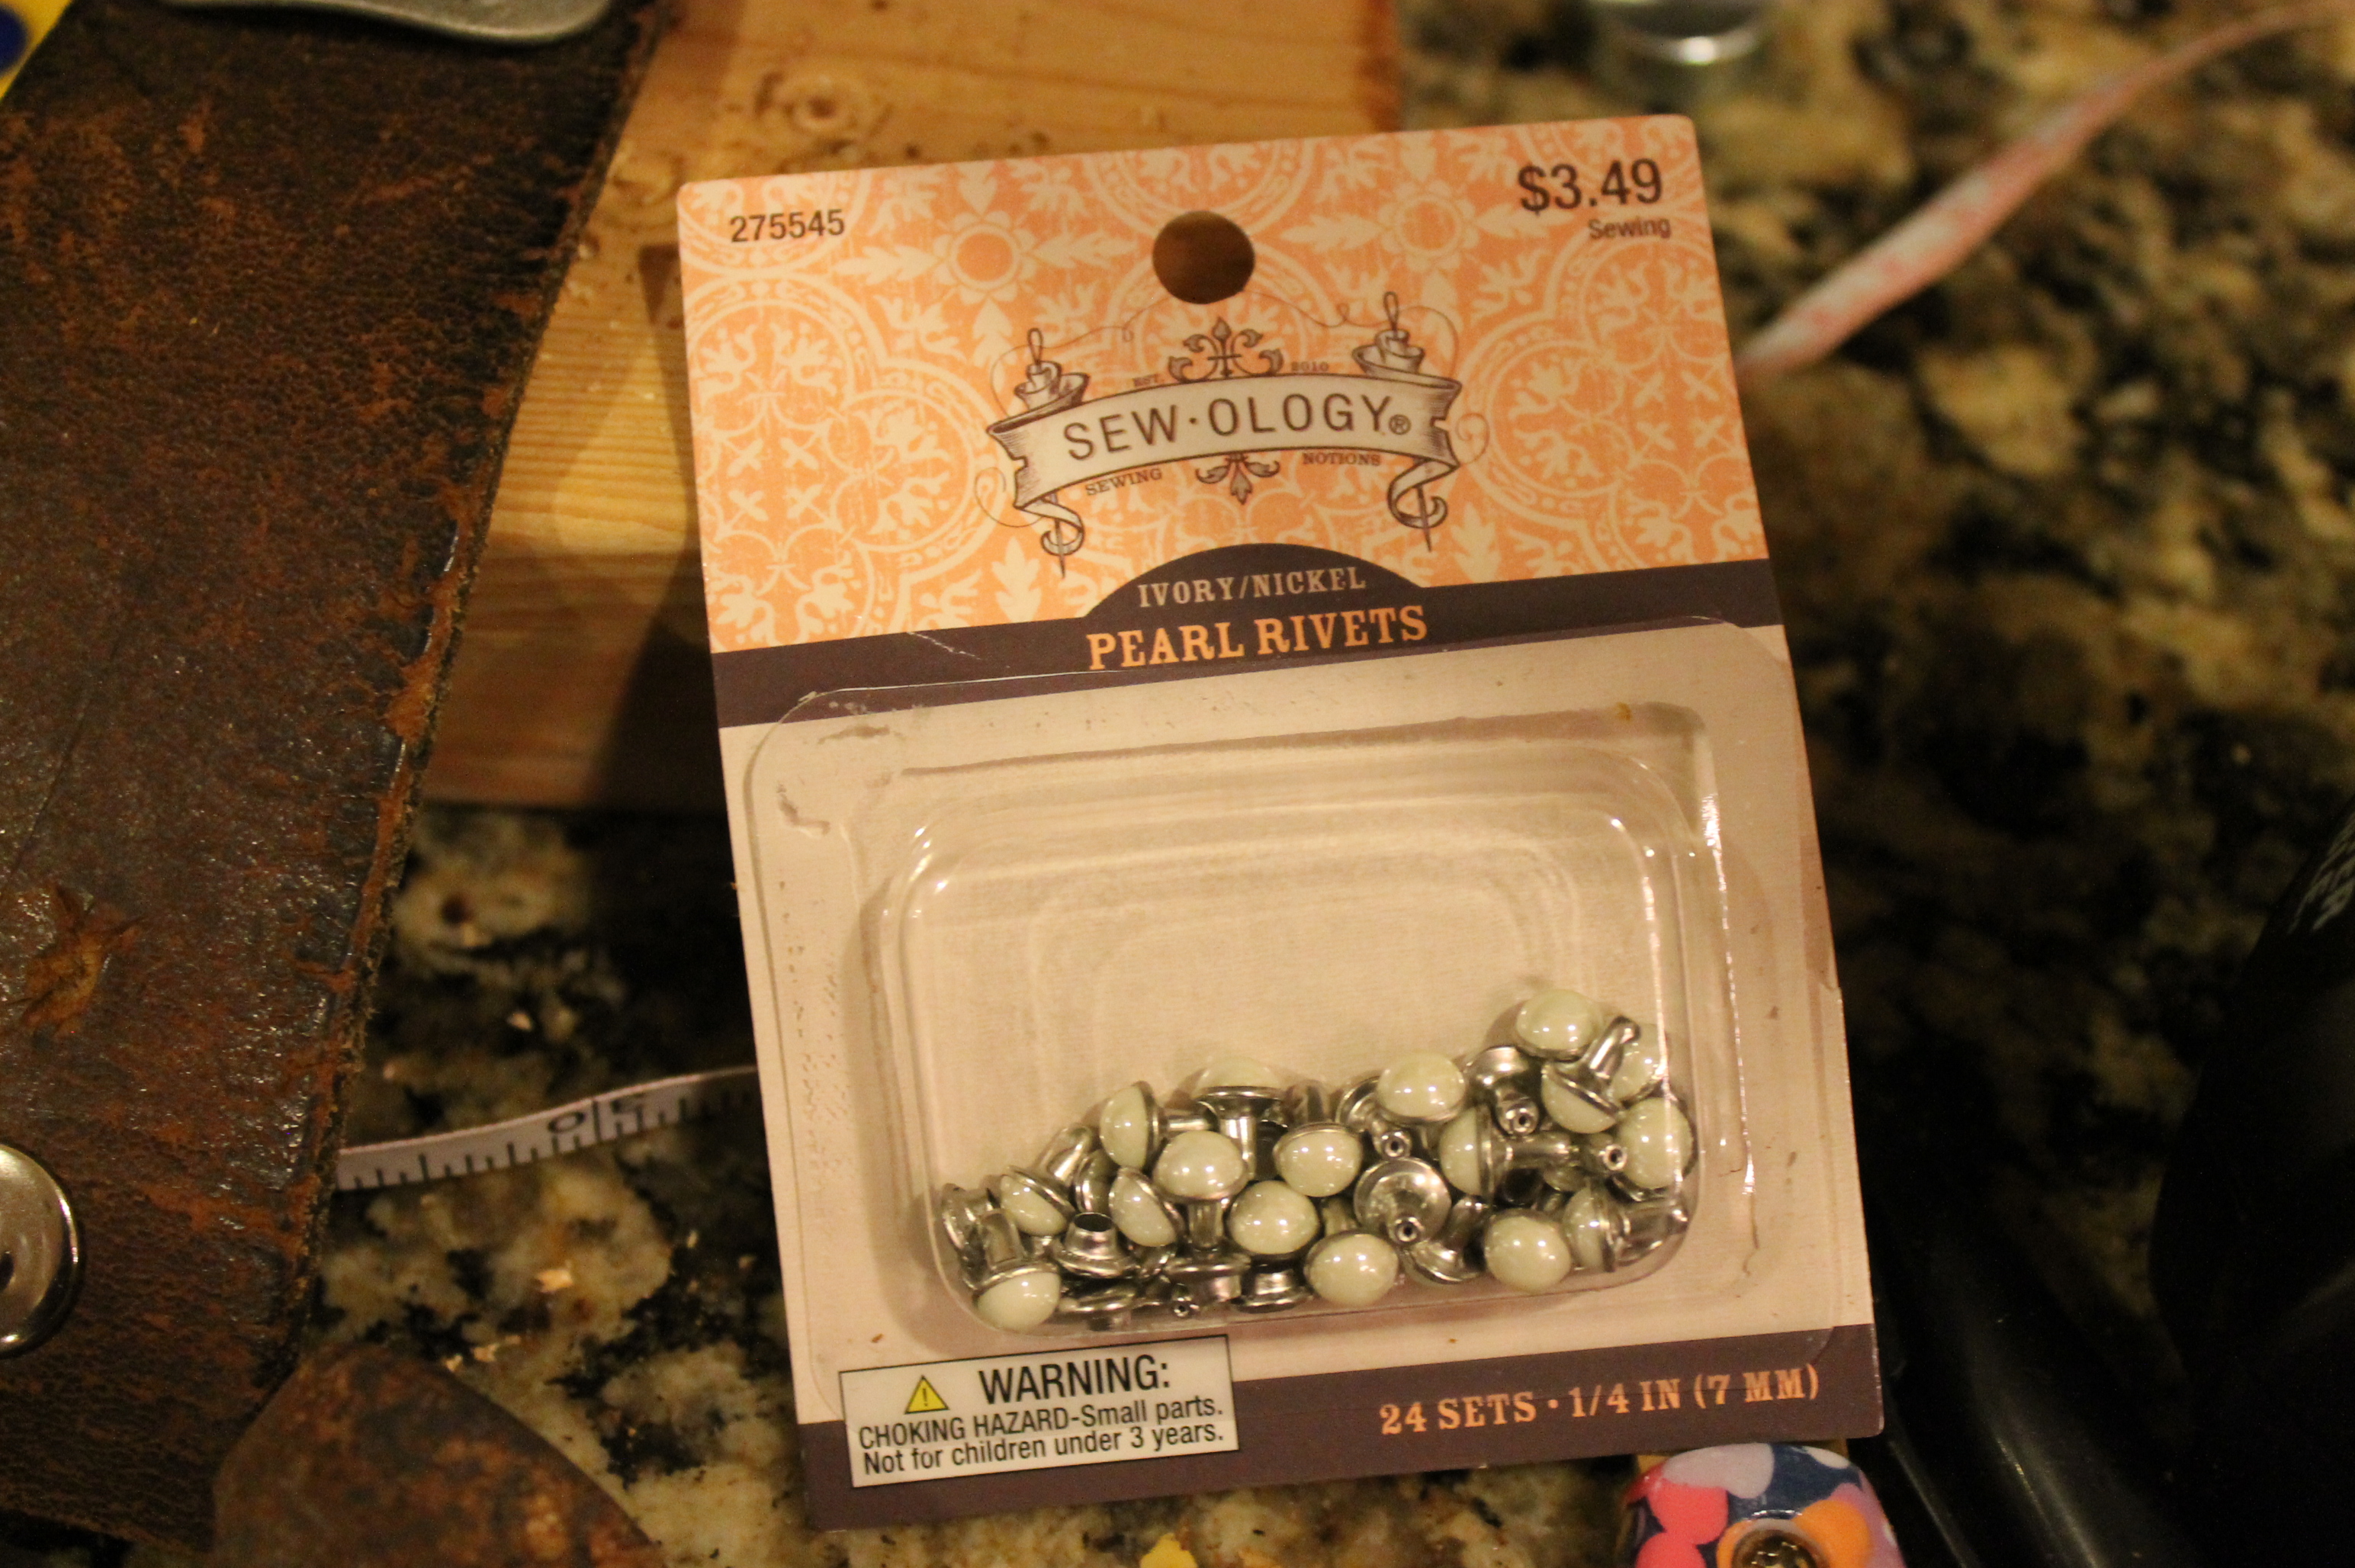
4. Rivets (Hobby Lobby in the leather section) I didn’t even know what these were before that fateful day in the jewelry aisle. They are what connects the metal piece to the cuff.
5. Scissors or a knife for cutting the belt to the size you want for your cuff.
6. hammer
7. pliers
8. wood block for drilling and hammering
9. Snaps to connect the ends of your cuff (leather section in Hobby Lobby or on line)

Here are the steps:
1. Cut the belt to the size you want with the scissors or knife. I started with scissors and had to move on to a knife.
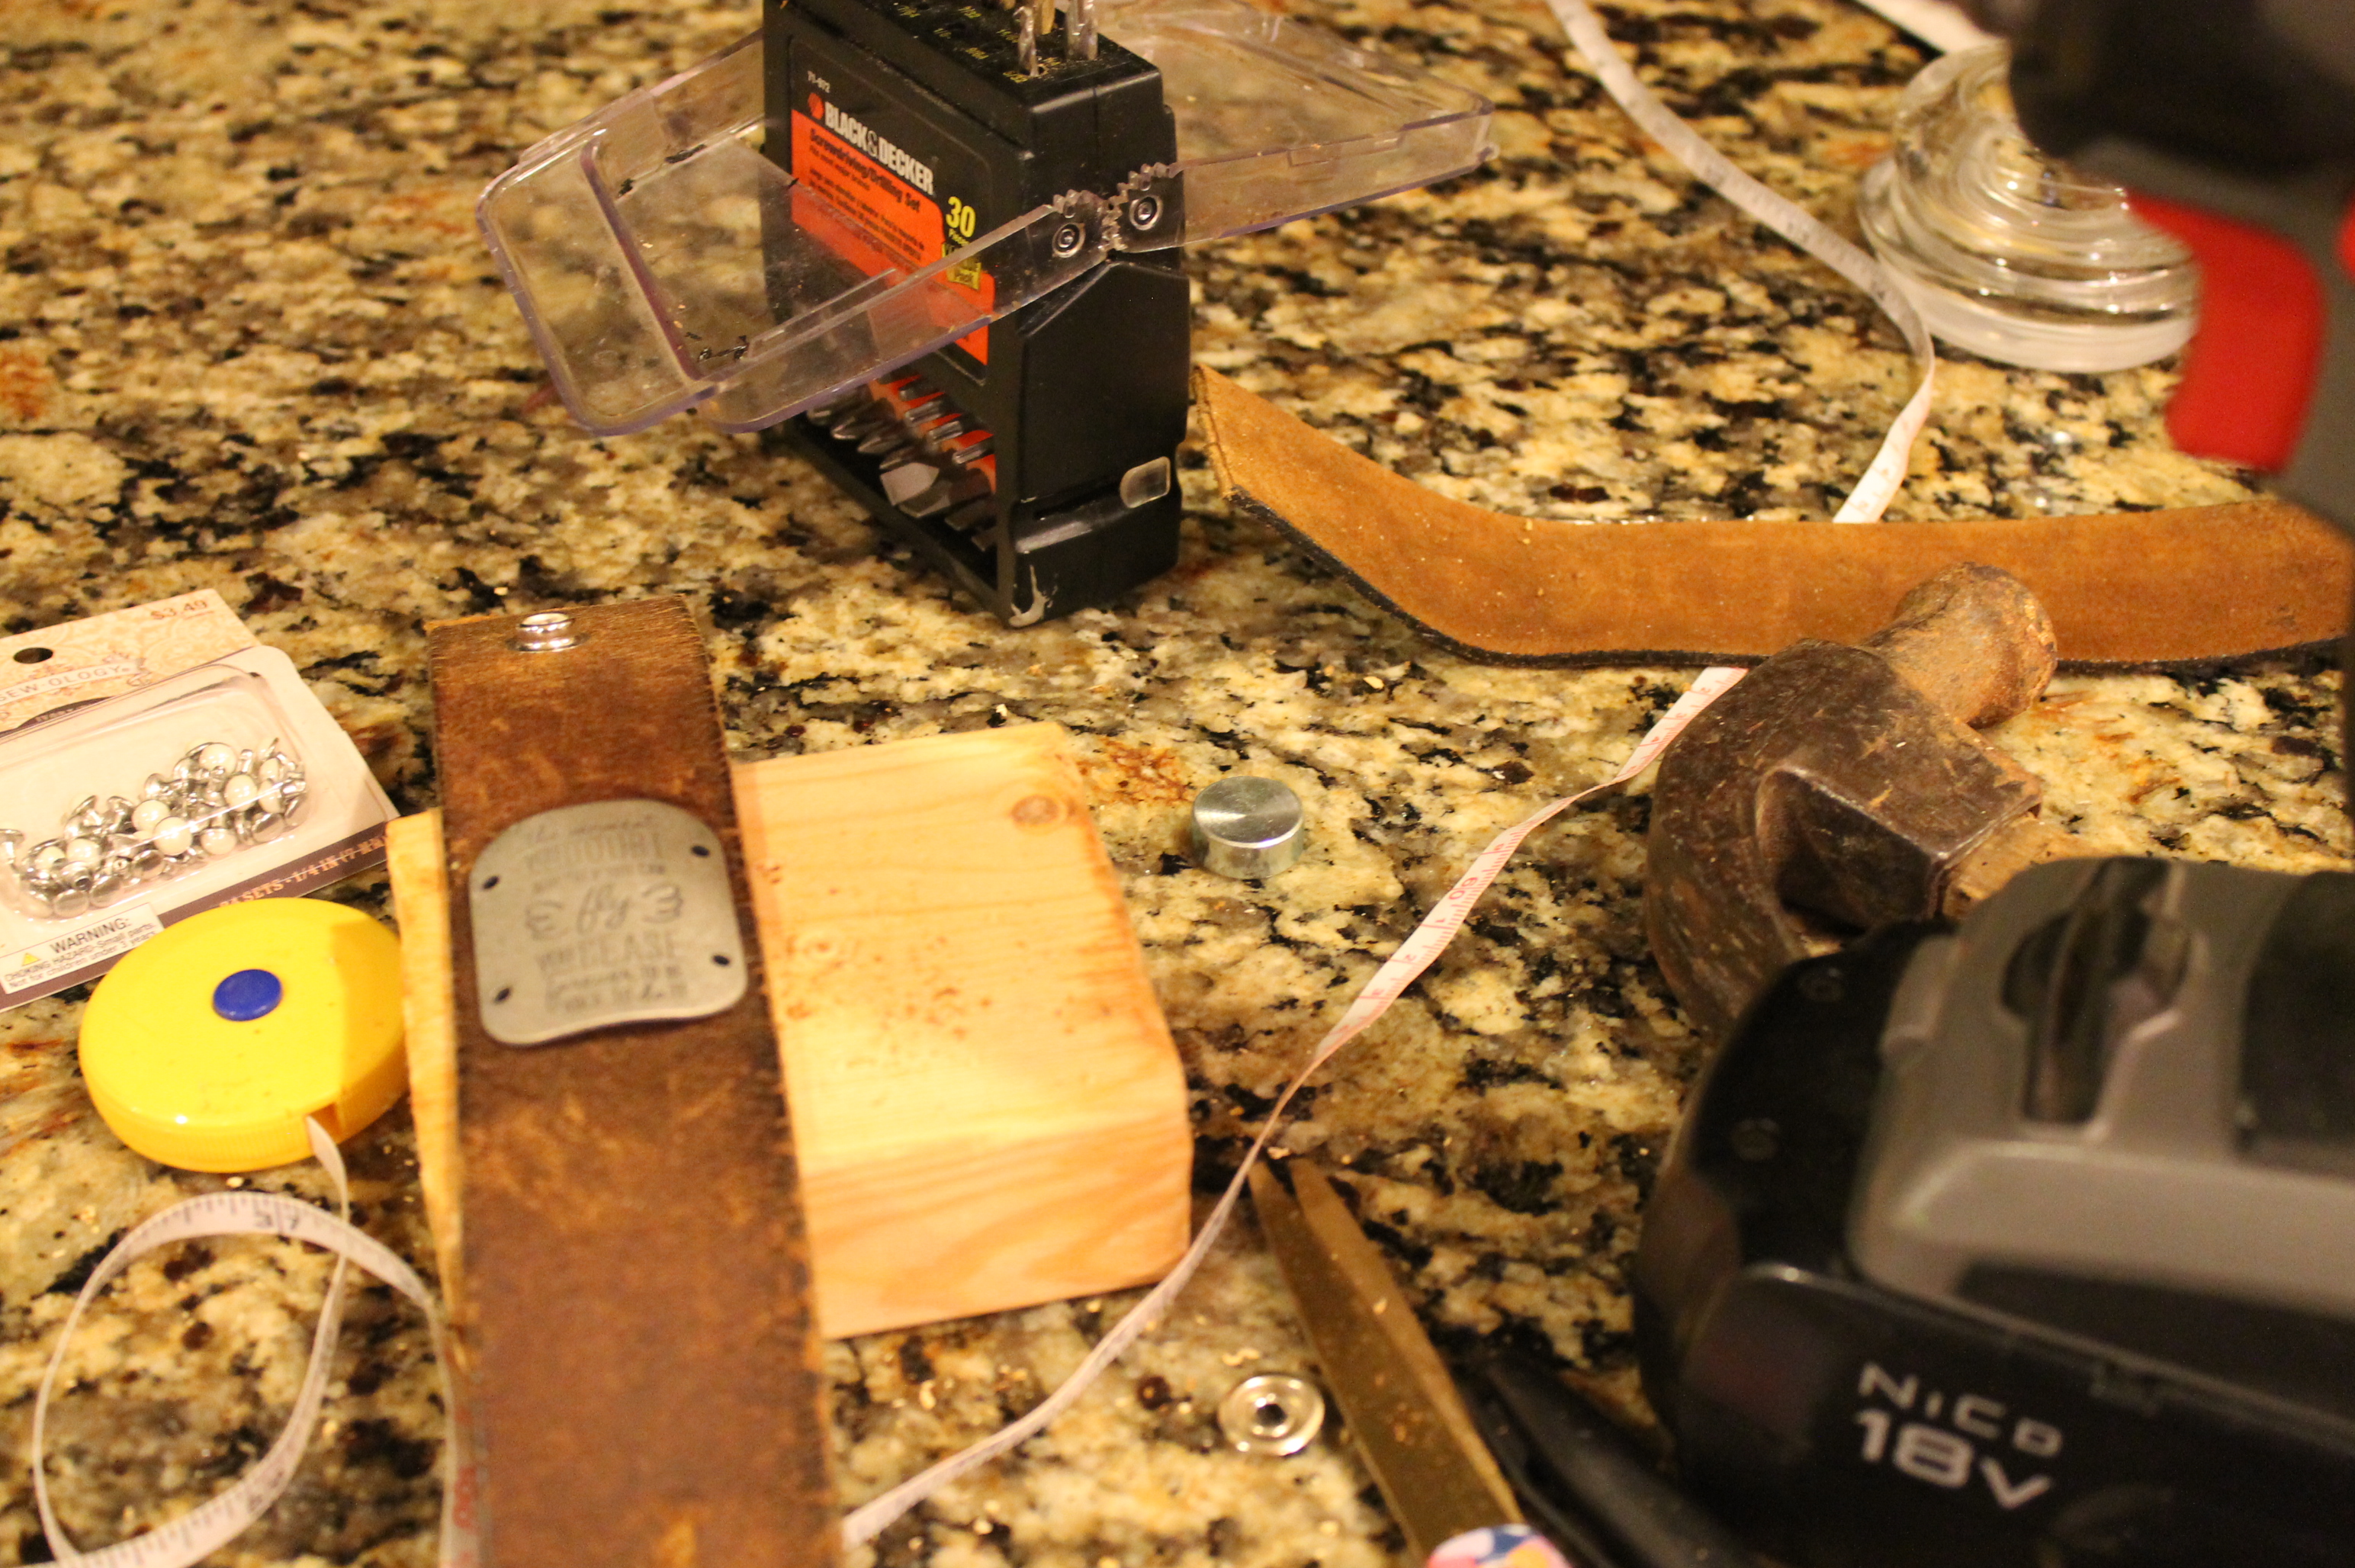
2. Place the metal piece on the cuff where you want it. Make sure you hold the cuff up snugly to the metal piece, so the metal piece lies well with the cuff. With an ink pen, mark the holes onto the cuff so you will know where to drill.
3. Remove the metal piece, put the cuff on the wood block and drill the holes for the rivets. Make sure you start off with a smaller bit and work you way to a bigger one if you need to. You don’t want to make the hole too big.
4. Return the metal piece to the cuff and begin hammering in the rivets. You have to make sure you get the correct size of rivets for the thickness of your cuff. It is so crazy. I wondered how in the world hammering those rivets together would make the metal piece stay, but it totally works!
5. Take the pliers and squeeze the rivets to make certain they are snugly holding the cuff and metal piece together.
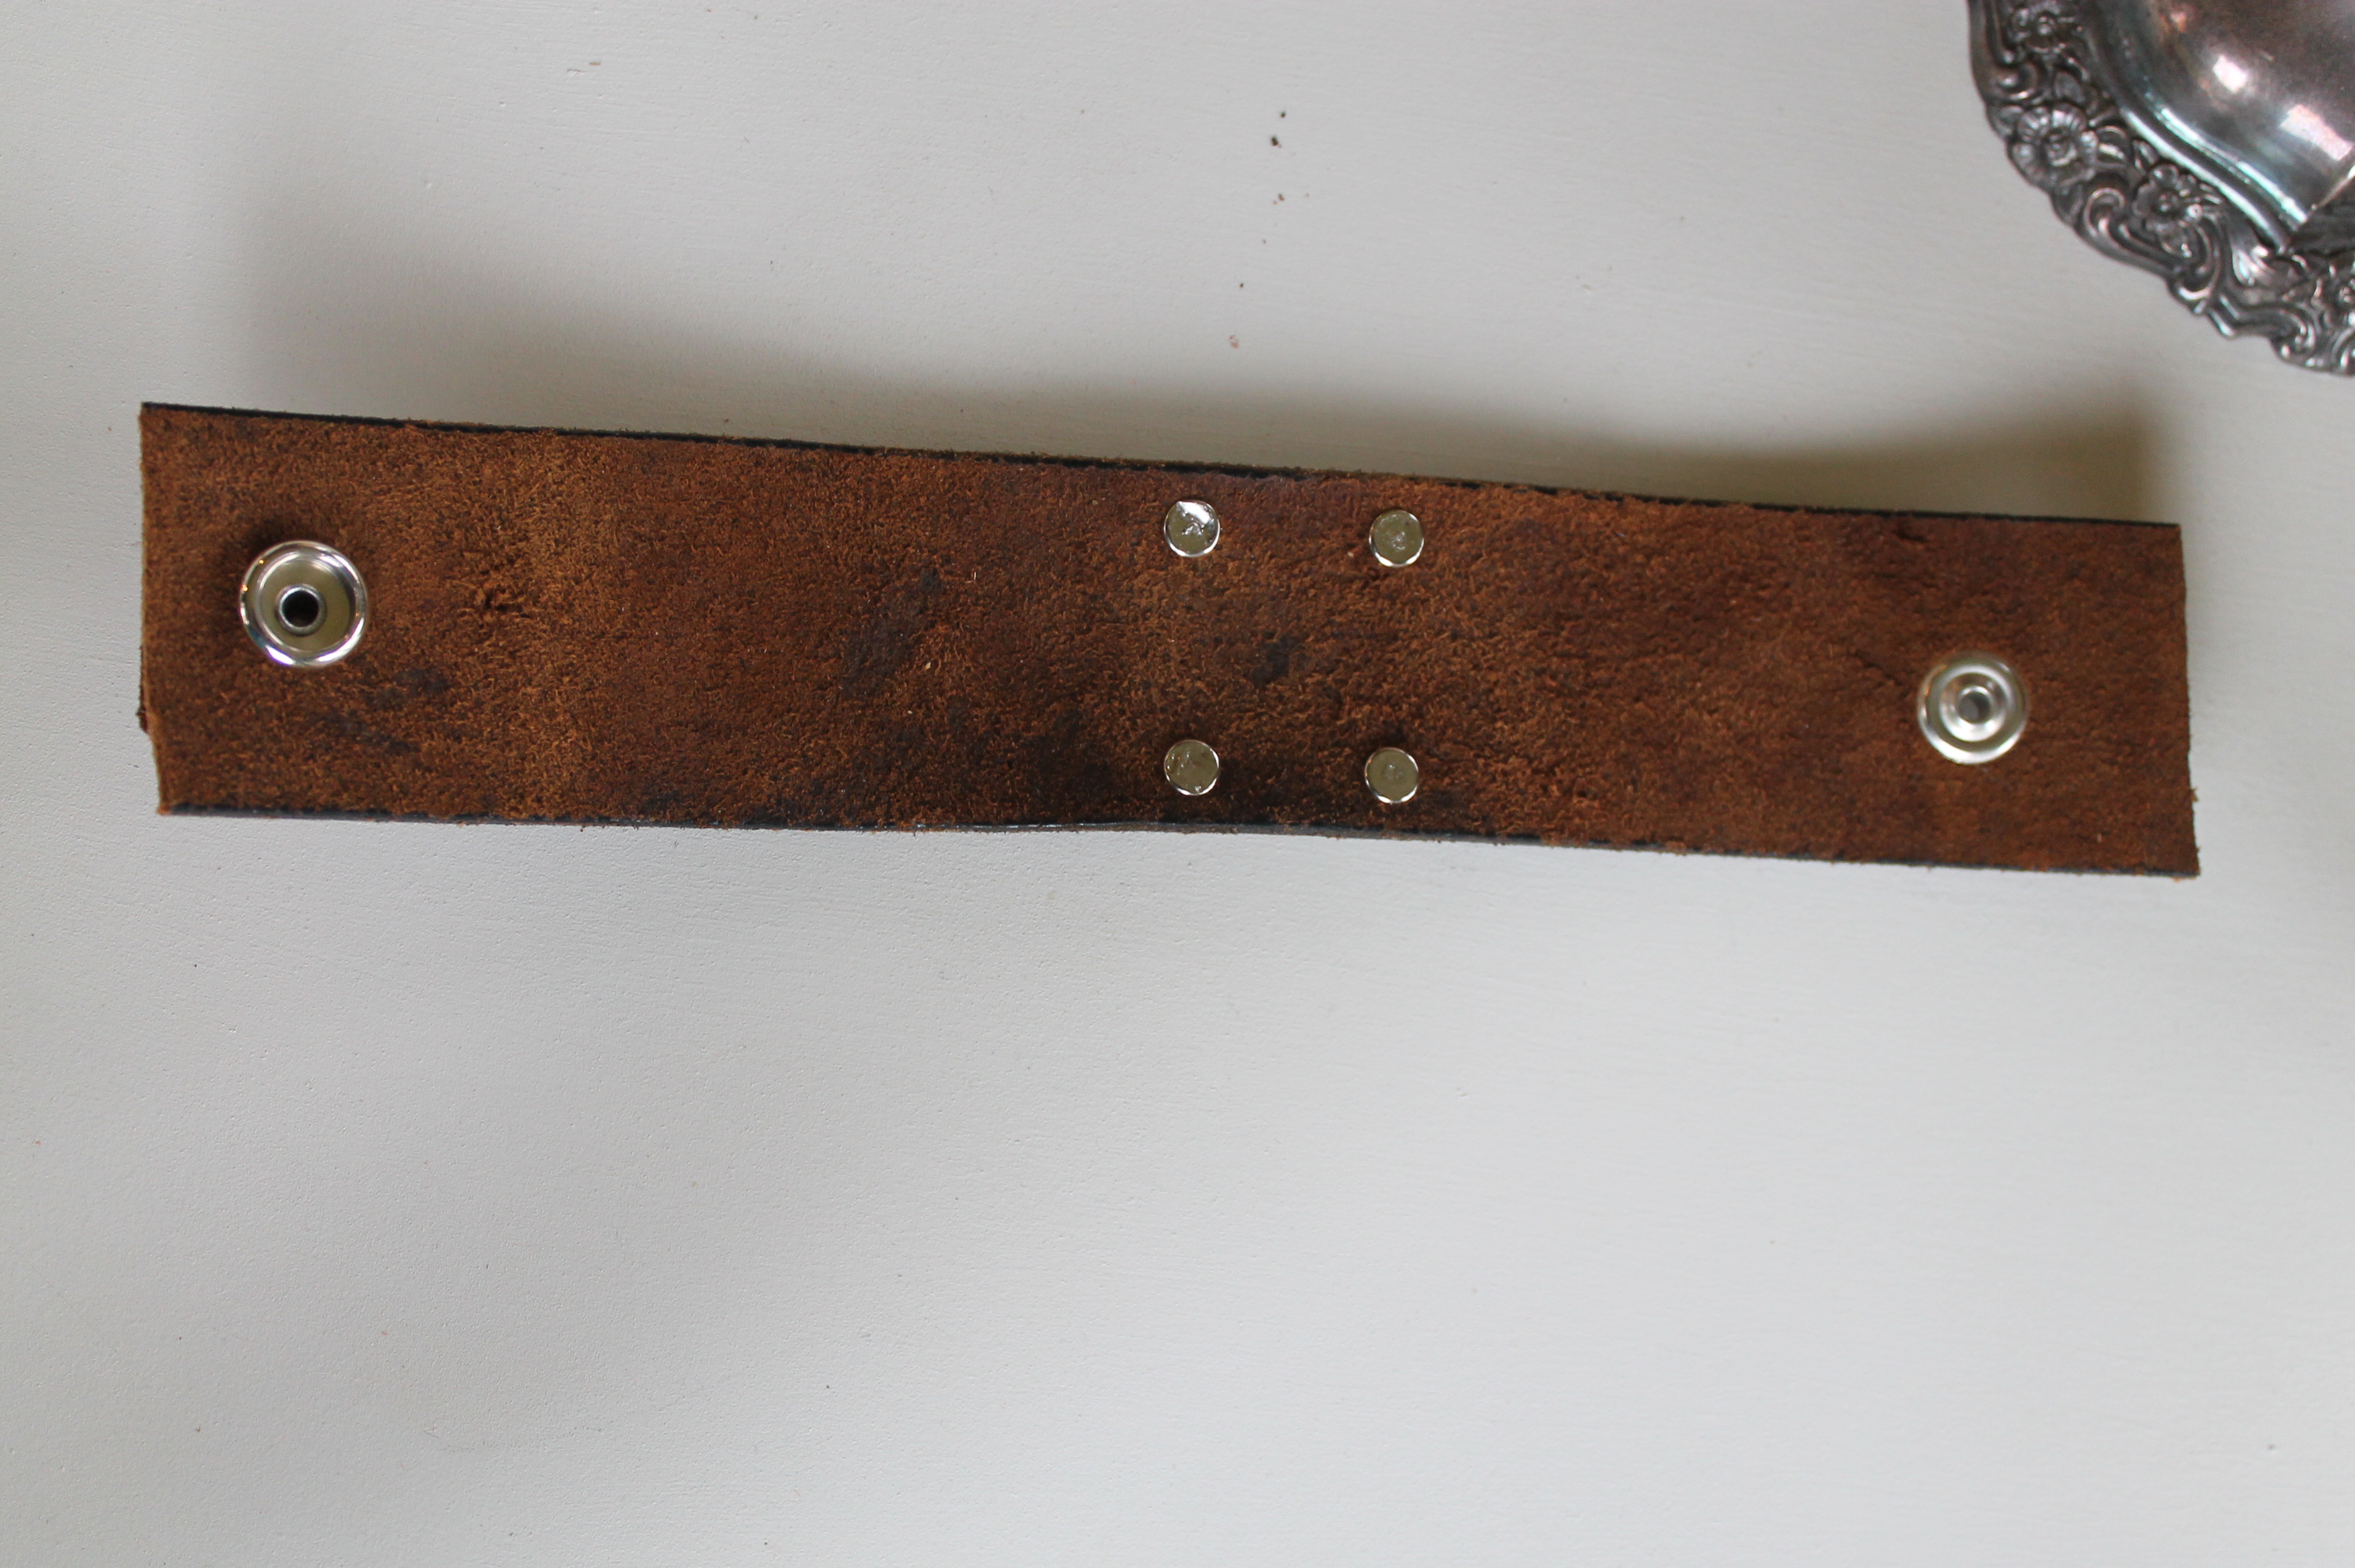
6. Put the snaps on each end. There are clear directions in the box with the snaps. Make certain you read them and know which way to put them on the cuff. It is easy, and it would have made my life tons easier. This is what the back of the cuff will look like.
I heart the end product! It is a unique gift for a friend (or yourself).

Trackbacks/Pingbacks